Spoilers: Early game
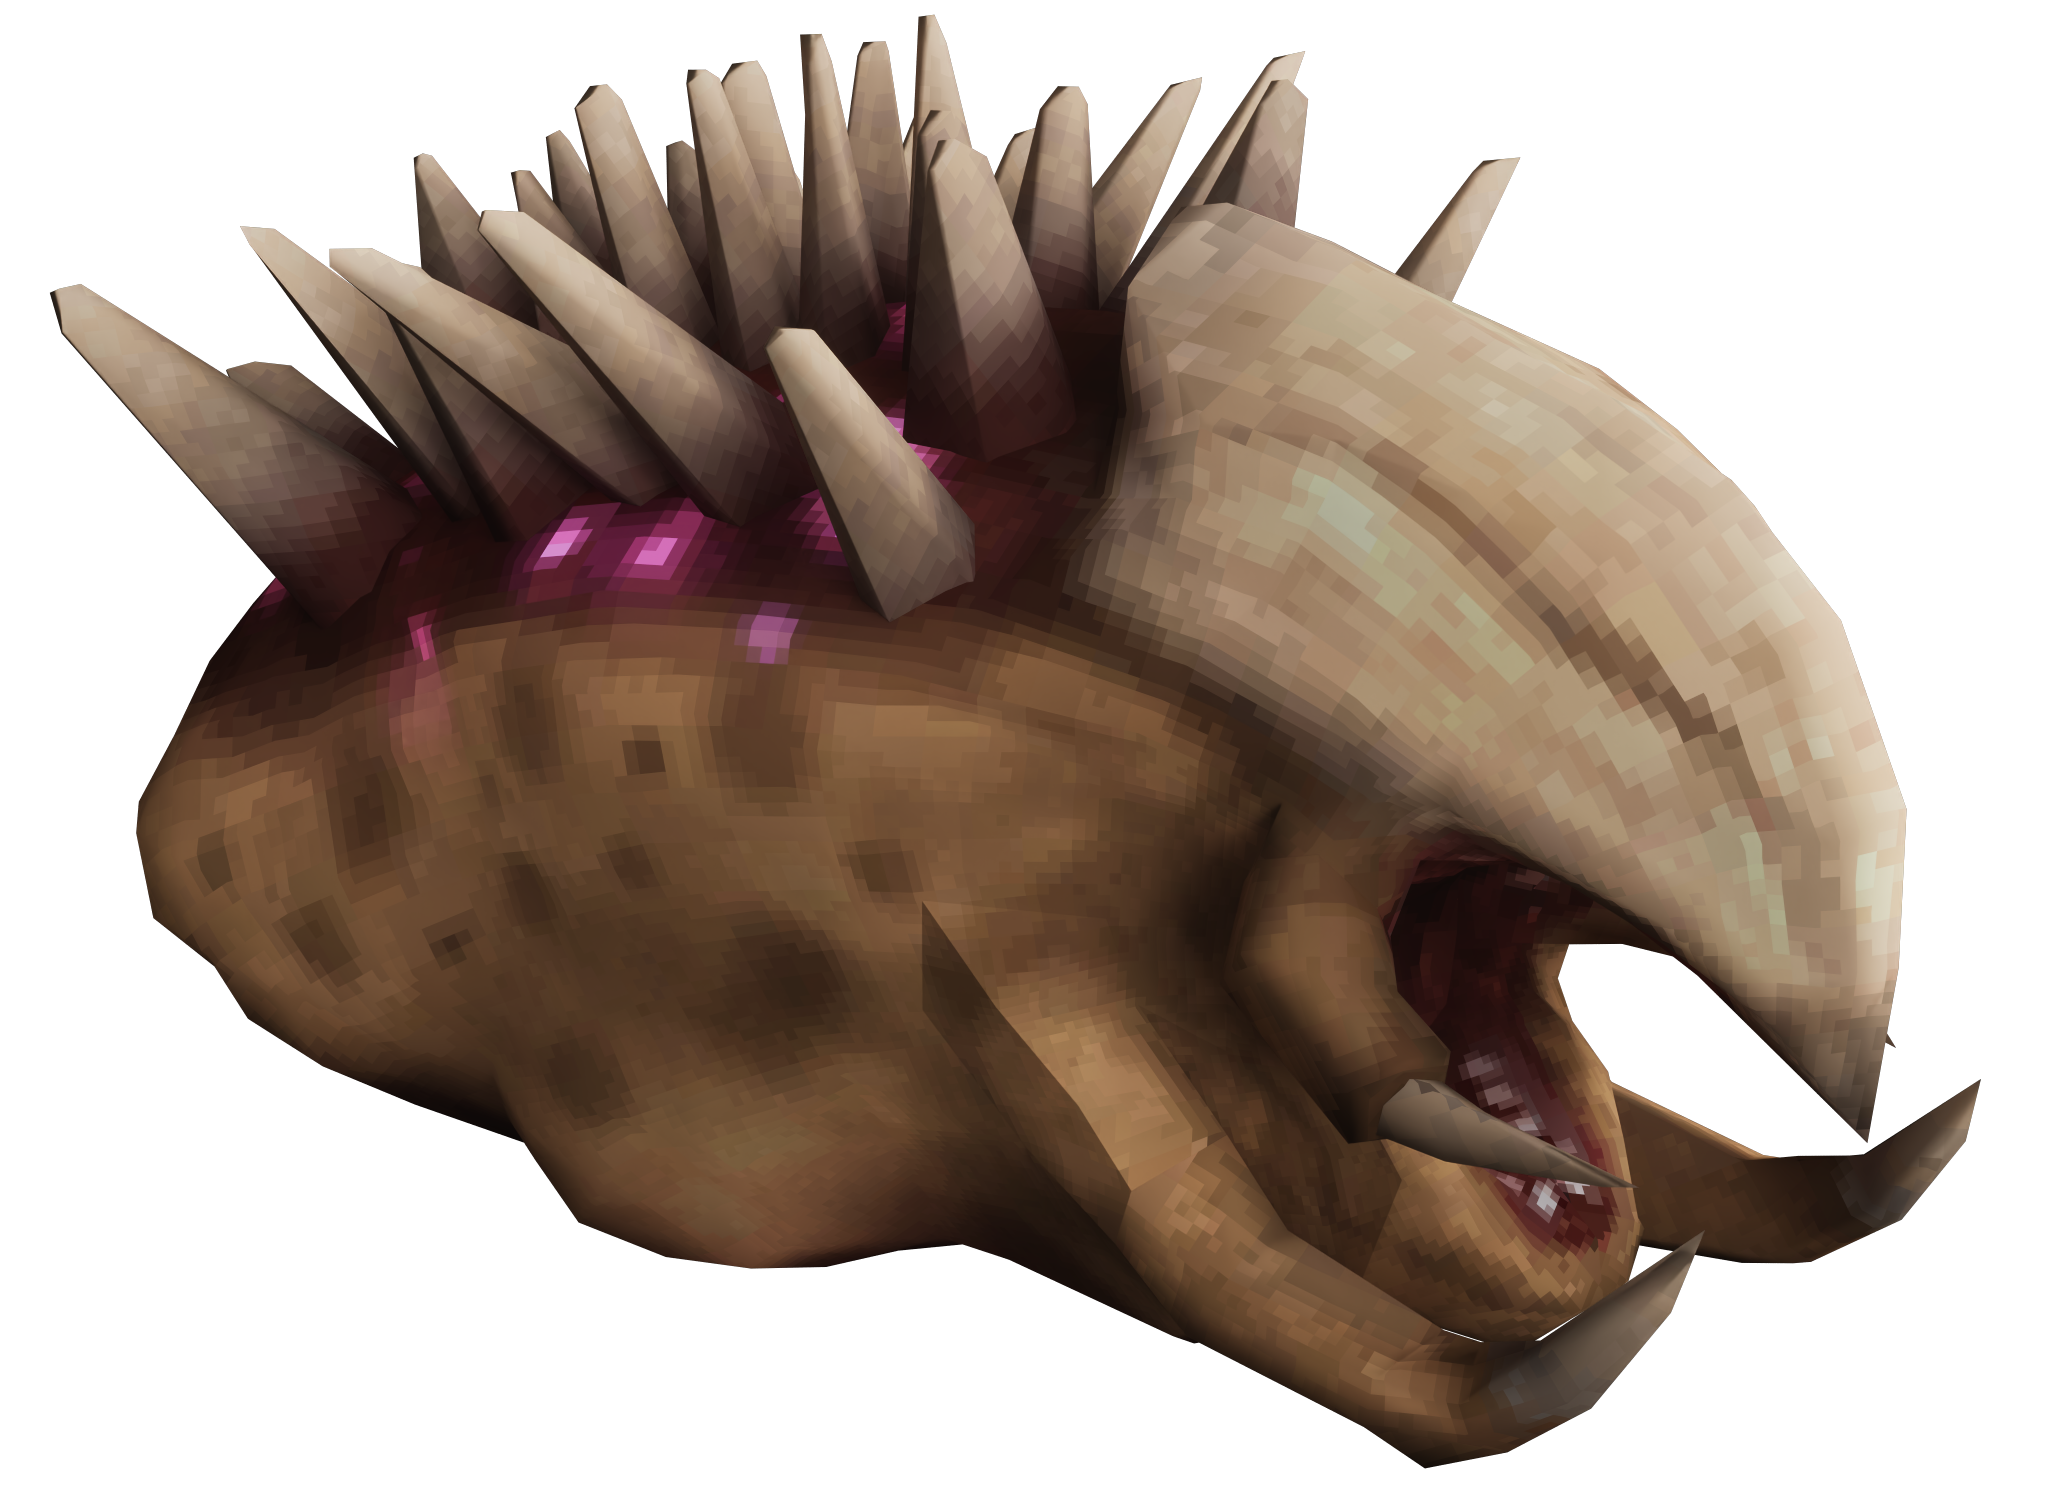
Abiotic Factor Pest Taming: Trap, Food and Flask Routes
Prepare a Pest Trap or Pheromone Flask, bring suitable food, confirm pet interactions before release, and care for your tamed Pest.
Early route: trap a Pest and check its state
Make 1 Pest Trap at a Crafting Bench using 1 Stapler, 1 Nachos and 2 Duct Tape. Reserve 3 additional Nachos or 3 Anteverse Wheat for the captured Pest: using Nachos for both construction and feeding means bringing 4 in total.
- Place the trap in the Pest’s walking path and let it enter.
- Inspect the captured Pest’s available interactions before releasing it.
- If the captured Pest offers a feeding interaction, feed it the prepared Nachos or Anteverse Wheat and check its state again.
- Confirm the tame/name/follow interactions before bringing it out. Capture alone is not a reason to release a still-hostile creature.
Keep the Pest contained until its pet interactions are available. Do not release an aggressive Pest just because the trap has caught it.
If no feeding or pet interaction is available, keep the Pest contained and do not spend more food on repeated attempts. The flask route below becomes available after you unlock chemistry.
Later route: Pheromone Flask and three foods
Prepare one Pheromone Flask and three Anteverse Wheat, Nachos or Bread before approaching.
- Throw the flask so its cloud affects the intended Pest.
- Check that the creature has been pacified. A missed throw or an attacking target is not a successful first step.
- Offer the three suitable foods during that temporary state; do not just discard food on the ground.
- Confirm pet interactions and following behavior before moving into danger.
The Chemistry Bench worked batch supplies the complete reagent list and mixing procedure. If you have only raw materials, start at the distillation input table.
The flask briefly changes aggression; it does not complete ownership by itself. If the effect ends before you finish, retreat and prepare the next attempt instead of treating attacks as pet hunger.
Care after taming
A tamed Pest can follow you and be picked up while passive. When it displays Hungry, hold a suitable food and use the Offer action; hold right click with the default PC controls, or use your configured Offer binding.
A downed companion has a revive interaction. Make the area safe before using it, and check your companion status rather than treating every loose creature as a protected pet. Friendly fire can damage pets when enabled.
| What you see | What it means for your next action |
|---|---|
| Wild Pest still attacking | Taming is not confirmed; do not handle it as a hungry companion |
| Captured Pest without clear tame interactions | Resolve the trap-state check before release |
| Tamed pet marked Hungry | Offer food, not a new taming flask |
| Downed companion with revive prompt | Revive when safe; do not harvest it |
Feeding for upkeep, feeding for mutation and feeding to tame are separate tasks.
Surviving a hostile Pest
Leave room to move: Pests leap and can ambush from clutter, while groups make close encounters harder. Sidestep its leap, use a shield, or keep a blunt weapon ready.
A Throw Net followed by a stomp is a kill method, not the living-capture sequence above. Likewise, harvesting Raw Pest for cooking or Alien Distillation is a different goal from keeping a companion.
For fungal Peccaries and their produce, use the Mushroom Peccary guide. Do not apply Pest food choices to every other creature without checking its own taming requirements.